It looks like Minimalist Baker also installed an adblock blocker so here’s their pizza beans recipe.
Cheese Sauce
- 1/2 cup raw cashews
- 2/3 cup water
- 1 Tbsp lemon juice
- 2 ½ Tbsp nutritional yeast
- 2 Tbsp tapioca starch (also called tapioca flour)
- 1/2 tsp sea salt
Beans
- 2 Tbsp olive oil
- 4 large cloves garlic, minced
- 1/4-1/2 tsp red pepper flakes (optional but nice)
- 1 (15 oz.) can crushed tomatoes
- 1/4 cup water
- 1 Tbsp dried Italian herbs
- 1 tsp maple syrup (optional)
- 1/2 tsp sea salt
- 2 (15 oz.) cans white beans, drained and rinsed (we used cannellini // or ~3 ½ cups cooked homemade beans)
Instructions
CHEESE SAUCE: Add cashews to a heatproof bowl and cover with hot water by at least 1-2 inches. Let them soak while you get started on the beans.
BEANS: Heat a large stainless steel or enameled cast iron skillet (or other oven-safe skillet) over medium-low heat. Once hot, add olive oil and garlic and sauté until fragrant — about 1 minute. Add red pepper flakes (optional) and stir to infuse flavor. Turn down heat if cooking too quickly.
Add the crushed tomatoes, 1/4 cup (60 ml) water, Italian herbs, maple syrup (optional), and salt. Stir to combine, then add the white beans and mix to evenly distribute. Bring to a simmer over medium heat, cover, and let cook for 15-20 minutes until the beans are tender and the sauce is bubbly.
CHEESE SAUCE: While the beans simmer, make your cheese sauce. Drain the cashews and add them to a high-speed blender along with 2/3 cup (160 ml) water, lemon juice, nutritional yeast, tapioca starch, and salt. Blend on high until very smooth and milky in texture, about 1 minute. Set aside.
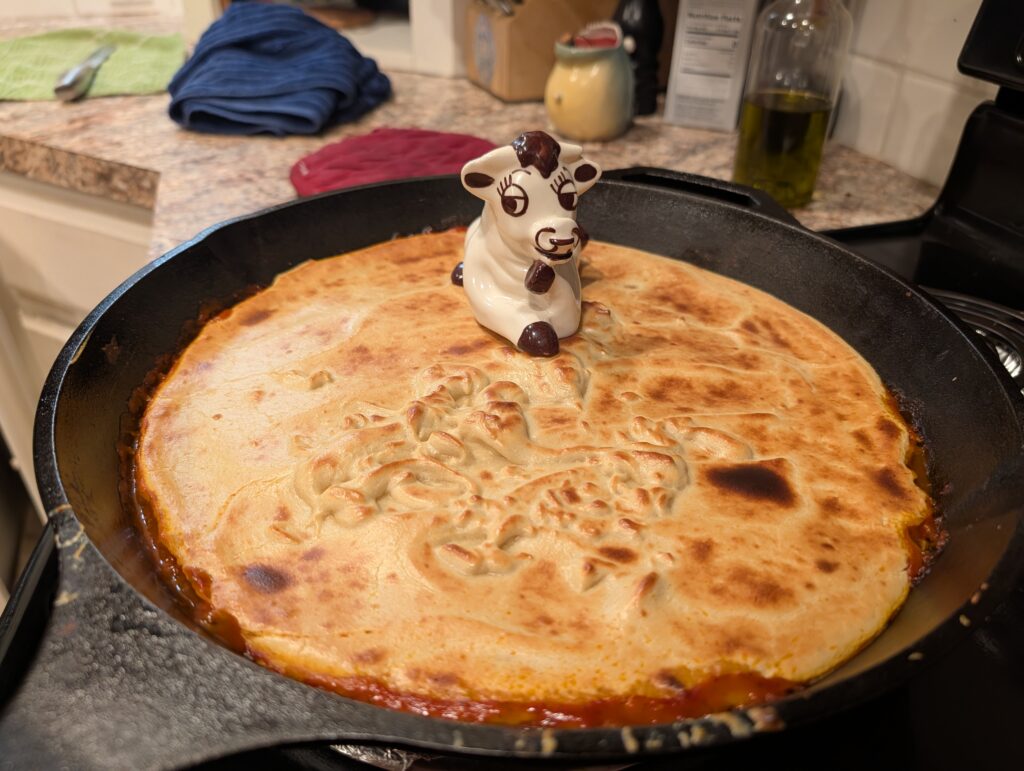
Once the beans are tender, reduce the heat to low and carefully pour the cheese sauce over the beans in an even layer. Cover and steam for 2-3 minutes to encourage the cheese to firm up, then transfer to the oven to broil (optional) for another 2-3 minutes, or until the cheese is darkened in spots and dry to the touch. Optionally, garnish with fresh basil.
Serve warm with vegan garlic bread, sautéed greens, roasted vegetables, or alongside a salad. Leftovers keep for 3-4 days in the refrigerator or 1 month in the freezer.