2 min read 0

Chocolate Chip Cookies

So first things first, I ripped this recipe from Purely Kaylie’s website. I mention this because they put an adblock-blocker on their site so I can’t use it anymore. So, Kaylie if you’re reading this, dumb move. Now I’ll just never use your website again. That’s how that works. If you put a donation button somewhere I’d be happy to toss ya $5, which is probably like 1000x more than you’d ever get from my traffic. Now everyone loses.

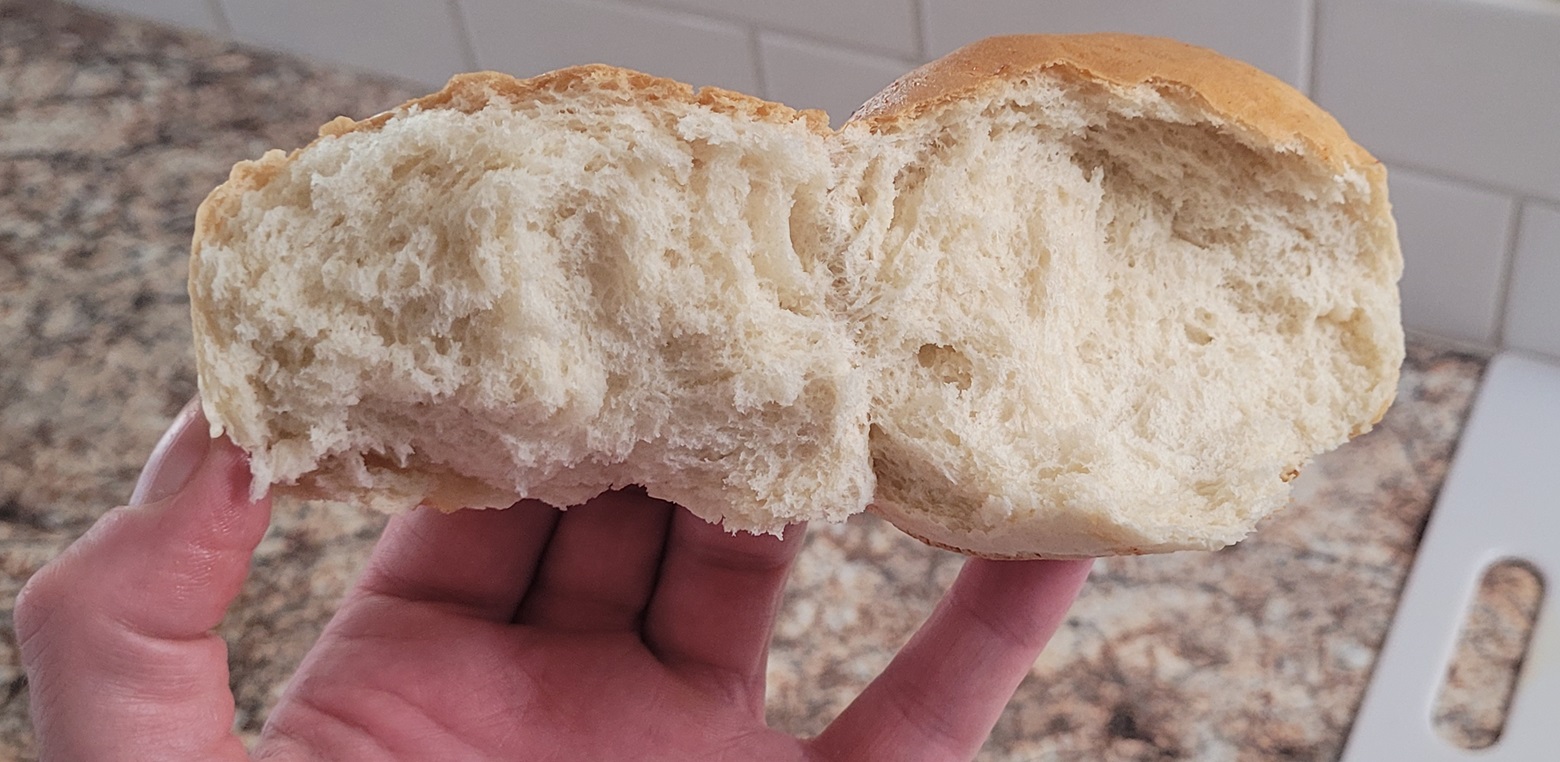
Anyway, here’s some cookie shit.

My one variation is I add maybe 1/8th tsp of almond extract. It does something to most cookies that I think is worth it. Don’t over do it. The point isn’t to taste almond, it’s to enhance the flavors around it. The almond provides a nice baseline behind other flavors, if that makes sense.

  • 1/2 cup vegan butter, slightly softened (IS IT SALTED? Remove 1/2 tsp salt if your butter is salted)
  • 1 cup light brown sugar, packed
  • 3 tbsp granulated sugar

Barely cream together.

  • 1/4 cup plant-based milk
  • 2 tsp vanilla extract

Lightly mix. Scrape sides well.

  • 1 3/4 cups all-purpose flour 240g
  • 1 tsp baking soda
  • 1/2 tsp salt
  • 1 cup vegan chocolate chips

Mix just until it comes together. Chill for ~30 minutes.

  1. Preheat the oven to 350 degrees F. Line a large baking sheet with parchment paper or tin foil, both can be reused.
  2. Scoop the cookie dough into balls and transfer to the baking sheet. I recommend creating 15 cookies.
  3. Bake cookies for 12 minutes on the middle rack in your oven. You should remove them from the oven while the center still appears underbaked. Once you remove them from the oven, let the cookies rest for 5 minutes on the baking sheet.

A note: These are very sugar heavy so they will deflate and get hard very quickly upon over baking. Try your best now to over bake these. If you’ve ever made sugar snaps or ginger snap cookies for decoration, it’s similar to that in the way they quickly go hard. As soon as these cookies start to brown you should be looking to yank em out of the oven.

4 min read 0

Pita Bread

A quick pita bread recipe from The Mediterranean Dish.

  • 1 cup lukewarm water
  • 2 tsp active dry yeast
  • 1/2 tsp sugar
  • 3 cups all-purpose flour, divided(reserve 1/2 cup for dusting).
  • 1 to 2 tsp kosher salt
  • 2 tbsp extra virgin olive oil + more for bowl.

Make sponge: In a large mixing bowl add the lukewarm water and stir in yeast and sugar until dissolved. Add 1/2 cup flour and whisk together. Place the mixing bowl in a warm place, uncovered to form a lose sponge. Give it 15 minutes or so, the mixture should bubble.

Form the pita dough: Now add salt, olive oil and almost all the remaining flour (keep about 1/2 cup of the flour for dusting later). Stir until mixture forms a shaggy mass (at this point, the dough has little to no gluten development and just looks like a sticky mess and you can easily pull bits off). Dust with a little flour, then knead the mixture inside the bowl for about a minute to incorporate any stray bits.

Knead the dough: Dust a clean working surface with just a little bit of flour. Knead lightly for a couple minutes or so until smooth. Cover and let the dough rest for 10 minutes, then knead again for a couple more minutes. The dough should be a little bit moist, you can help it with a little dusting of flour, but be careful not to add too much flour.

Let the dough rise. Clean the mixing bowl and coat it lightly with extra virgin olive oil and put the dough back in the bowl. Turn the dough a couple times in the bowl to coat with the olive oil. Cover the mixing bowl tightly with plastic wrap then lay a kitchen towel over. Put the bowl in a warm place. Leave it alone for 1 hour or until the dough rises to double its size.

Divide the dough. Deflate the dough and place it on a clean work surface. Divide the dough into 7 to 8 equal pieces and shape them into balls. Cover with a towel and leave them for 10 minutes or so to rest.

Shape the pitas. Using a floured rolling pin, roll one of the pieces into a circle that’s 8-9 inches wide and about a quarter inch thick. It helps to lift and turn the dough frequently as you roll so that dough doesn’t stick to your counter too much. (If dough starts to stick, sprinkle a tiny bit of flour). If the dough starts to spring back, set it aside to rest for a few minutes, then continue rolling. Repeat with the other pieces of dough. (Once you get going, you can be cooking one pita while rolling another, if you like). You have two options for baking the pita from here.

To bake pita in the oven: Heat the oven to 475 degrees F and place a heavy-duty baking pan or large cast iron skillet on the middle rack to heat. Working in batches, place the rolled-out pitas directly on the hot baking baking sheet (I was only able to fit 2 at a time). Bake for 2 minutes on one side, and then, using a pair of tongs, carefully turn pita over to bake for 1 minute on the other side.  The pita will puff nicely and should be ready. Remove from the oven and cover the baked pitas with a clean towel while you work on the rest of the pitas.

To cook pita on stovetop: Heat a cast iron skillet over medium-high heat. (Test by adding a couple drops of water to the skillet, the skillet is ready when the beads of water sizzle immediately). Drizzle a tiny bit of extra virgin olive oil and wipe off any excess. Working with one pita at a time, lay a rolled-out pita on the skillet and bake for 30 seconds, until bubbles start to form. Using a spatula, flip the pita over and cook for 1-2 minutes on  the other side, until large toasted spots appear on the underside. Flip again and cook another 1-2 minutes to toast the other side. The pita is ready when it puffs up forming a pocket (sometimes, with this method, the pita may not puff or may only form a small pocket. Try pressing the surface of the pita gently with a clean towel). Keep baked pita covered with a clean towel while you work on the rest.

2 min read 0

Brioche Buns

I’ll share my go to brioche recipe. It’s vegan and delicious. It’s also very versatile. I usually add in a few tsp of onion powder.

  • ½ cup (115g) melted vegan butter, or olive oil. I usually use miyoki’s tub butter.
  • ¾ cup (190g) dairy-free milk, warm and as needed
  • 2 tablespoons (25g) granulated sugar, or coconut sugar
  • 1 tablespoon instant dry yeast
  • 3 cups (375g) all-purpose plain flour
  • ½ teaspoon salt, if using unsalted butter

Proof the yeast by melting the butter and dairy-free milk in the microwave to around 80-90F, add the sugar if you want, then add the yeast. Wait a few minutes until bubbles occur. This means your yeast is set to jet. This step is optional but it’s a good idea to make sure your yeasties are active.

Next dump all the ingredients into your mixer and mix for 5-10 minutes. You want a smooth and soft dough.

Let the dough rise for ~1 hour at, or slightly above, room temp. Until doubled in size. It’s best to be cautious on the first rise rather than letting it go too long. Don’t use up that sugar.

It’s time to form your dough balls. I usually weigh my dough and divide by 8, or ~120-140gram per bun. Put dough balls on a cookie sheet and let rise for 1 more hour or until desired size is reached.

Bake at ~350F for 12-14 minutes or until you get a nice brown starting on top. I tend to under bake my buns because I toast them later.

Optional: create a glaze using honey/syrup/whatever and some water. Brush the glaze onto the top of the buns when removed from the oven. You can flavor the glaze with things like garlic, paprika, parsley, thyme, etc.

And some photos.